
Steps To Making a Collage T-Shirt Quilt - Week 1 Sorting Shirts and Cutting
- jenniferbathurstqu
- Sep 8, 2023
- 3 min read
Updated: Dec 12, 2023
Have you wondered what to do with all of those elementary, middle school, high school, sports, clubs, and favorite t-shirts? You are not alone, I get so many inquiries every year about what can be done. Most of the time, it is for a special occasion like a graduation or Christmas gift, but can also be for a milestone (run in 20 marathons and have a shirt for each one??) or a memory of a loved one gone too soon. I make 2 types of t-shirt quilts, block and collage style. In this blog series I will show you step by step the process I use on your tshirts to complete a collage style quilt that will last forever!
Let's get to work to turn this pile of shirts into a quilt!

You will need to sort through the shirts and decide what you want in your quilt. Not all graphics need to go in, but I will need to know which ones you want. I can use cotton, drifit, sweatshirt, jersey, etc as it will all be stabilized. I can use pocket graphics, graphics on sleeves and even v-neck shirts as there is a way to fill in the background (see Week 2).
Look at these examples:

Drifit - No problem!

I like the front of this one so will use it ....

I will use the back also so need to cut carefully

Same with this one, its ok that all are different sizes.


With this one, I want the patch and the sleeves
Next, lets start cutting! My method of cutting is different for each shirt as I evaluate the parts that I need. I will cut off sleeves and put them into a pile, unless I'm using that graphic. I then cut across the shoulders and down the sides. When I am using both sides of the shirt I will be very precise with the side cuts. If not, then it is just a rough cut as we will trim down to size (see Week 3).

Examples of cutting down the side and across the top. I am using both sides of this shirt.

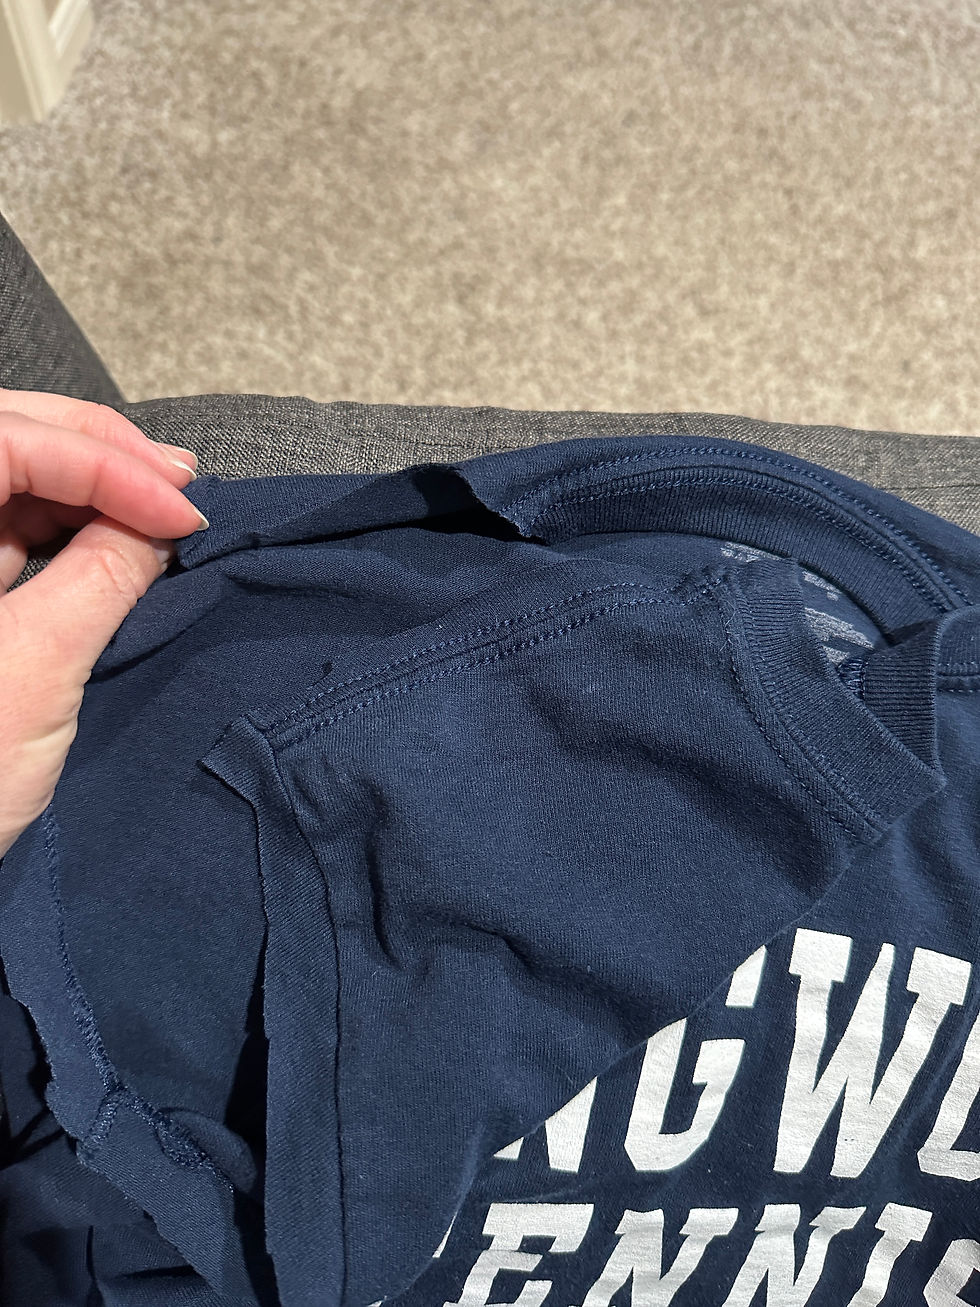
This is the long sleeve that had the graphic that I wanted. Cut open at the seam...

So that you have this at the end.
And most importantly, sort into piles -
Sleeves - will most likely throw away at the end
Graphics I will use - this should be largest pile
Blank backs/fronts of shirts that will be used to create filler blocks.
I do not throw away any scraps until the top is completed!

Sleeves

Blank shirt backs/fronts

The shirts that I will use
That is all for this step. A few tips on how to prepare your shirts when you drop them off:
Wash and dry but please leave out the fabric softener
Use masking tape or painters tape to clearly mark what you do or don't want to be a part of the quilt. If it isn't marked, I assume you will want it all!
Give me an idea of favorite colors, etc. so I can start to think about binding and backing choice (Week 6 & 7)
Each post, I will link some supplies that I use. Most are found on Amazon and I do have an affiliate with them. Others will be just products that I love to use:
Supplies
Scissors - you don't want to use really nice fabric scissors for this, they will go dull so fast! These have been the best to cut through all types of fabrics! https://amzn.to/44JKlJE
Storage Bags - There are a few that I use, but like these the best as I can label them clearly to keep each project together. At any time I have at least 2-3 quilts that I am making. Plus, this keeps the shirts safe until I can get to them. https://amzn.to/3PtLMqZ
I'll be back next time to talk about stabilizing the shirts to prep them for cutting to size!
Jennifer
Comments